Showing posts with label green. Show all posts

Monday, December 6, 2010

handmade ornaments.

I have been inspired to have a handmade/repurposed Christmas this year. I'm really trying to make things instead of buying them and I'm finding that there is a great deal of satisfaction in doing so. I've been crafting and making gifts late into the night with a dear friend, the enjoyment of crafting made even better by good company, meaningful conversation, and hot tea.

In keeping with the handmade theme of this Christmas I have been making some handmade ornaments most of which have been inspired by this post. This is my simplified version of her Book Page Bird Ornament. I simplified it because I didn't have some of the supplies she used. I also don't have a lot of patience...

My first step was to pester Mr. Gardner about letting me cut up one of his old books {this is tantamount to asking him if I could cut up one of his children}. After some deliberation, he said I could have this book that he had only bought because it was old (circa 1936) which he said he would never read. As you can see the pages are beautifully aged.
Using the bird template from the previously mentioned blog post, I began tracing and cutting. I did have to make my own wing template because there was not one provided. Fortunately, they turned out looking fairly anatomically correct.

Then I distressed the edges with an ink pad and glued the wing to the bird with my son's glue stick :)
Next, I flipped the whole bird over and stuck a cheap ornament hook through the paper. I had to experiment a little with placement so that the bird was not bottom heavy...that wouldn't fly {pun intended}...
Once I had the placement right, I used another wing template and glued it onto that side, matching it up with the wing on the other side.
Done!

I'm afraid we don't have a Christmas tree to model it on....I'll post a picture of our tree when it's up.
Aren't they sweet? They won't last long in this house...

Thursday, December 2, 2010

advent tree

I love the idea of having an advent calendar. I have some fond childhood memories of opening the little doors as the anticipation of Christmas Day grew through the month. We haven't ever done one in our home, mostly because it would require planning on my part, but I've been wanting to start some traditions as the boys get older.
So...when I saw this advent calendar tutorial over at maya made that she crafted out of toilet paper tubes I was smitten. Two days after I posted a link on facebook and lamented about how I didn't have enough tubes, I had two bags full of toilet paper tubes donated to the cause (Thanks Pam!)
So I got to work on them. I followed the directions precisely, except that I didn't paint the tubes 1. because I like the brown cardboard and 2. because I didn't have any paint. I also added squares of wintery scrapbook paper I had on hand to the doors. They turned out darling, and I've hidden little tickets with special things to do with my boys behind each door. So far we've had hot chocolate with "mushrooms" (marshmallows), and "helped" mama make some cookies.
The wonderful thing about this calendar is that it gives the gift of time to my little ones. Each day I'm reminded to do something special with them...

What better gift could I give them?

Tuesday, March 2, 2010

yogurt update.

Well, I made my first two quarts of homemade vanilla yogurt yesterday, and they turned out fairly well. Actually, judging from how fast the first quart disappeared, they turned out very well! The yogurt didn't turn out thick enough for me, but Mr. Gardner and the boys enjoyed drinking theirs (this first batch would be perfect for smoothies!) When we lived overseas, we actually bought yogurt with exactly the same consistency, it was sold in a cup and you drank it...so Mr. Gardner and I were having flashbacks!

Anyway, next time I make it, I will let the yogurt sit longer in the cooler and see if that helps the jars set up better. I think I'll try another batch soon (first I need to get a bigger stockpot to boil my canning jars), and post some pictures when I finally get it the way I want it...if there's any left!

Saturday, February 27, 2010

homemade yogurt.


I'm thinking about trying this recipe for homemade yogurt from fellow blogger-&-frugal-girl-extrodinaire-Kristen. I'll bet it's really yummy, and quite a lot cheaper than buying yogurt at the store. Plus, you KNOW there are live, active cultures in this stuff if you grew it yourself...

*wink*

Thursday, February 25, 2010

thrifting 101.


I love thrift stores. I'd rather shop at a thrift store than just about anywhere, mostly because I'm such a tightwad. Mr. Gardner loves thrifting too, so it's a favorite pastime of ours. I started back in High School (before it was cool) at a store called Rags & Wags in my hometown. That was about 15 years ago. That's a lot of thrifting. I've learned a few valuable lessons in that time:

1. To get great finds, you need to go often. Probably once a week or so. Mr. Gardner is something of a bibliophile, so he finds out when the local thrift stores put out their new books, and tries to go weekly. He's found some amazing books using this method.

2. Don't buy things just because they're cheap. This is the hardest thing for me...I have bought way too many things at thrift stores for this reason, and not because I really like them, or will use them, only to re-donate them right back a few months later. Don't buy an item if you don't love it or have a specific use for it. Which leads me to...

3. Keep a list of things you need or want and take it with you when you go thrifting. This may seem counterintuitive, because if you've ever gone to a thrift store looking for something in particular, you know inevitably you will not find it! However, if you do go often, chances are you will eventually see what you are looking for. If you don't have said item on your list, you will walk into the store and be completely distracted by all the stuff, all the while having this nagging feeling that there was something you wanted to watch for...as you walk right past it.

4. Don't underestimate repurposing. This is probably one of my favorite things about thrifting. You can re-use and re-purpose almost everything in the store. We've picked up some great, well-made furniture at thrift stores. True, when we bought said furniture, it was spray painted purple and green, and needed to be refinished, but that's the fun part! Sheets can be made into almost anything, old baskets or luggage are great for storage, clothing can be resized, throw pillows can be recovered. There are a lot of amazing ideas out there for repurposing the items that are sitting, waiting for a new life!

5. For every item you buy while thrifting, donate an item back. This is a great way to de-clutter your home. I always have a donation box going at my house for items that are no longer used, or needed. I especially try to do this with my children's things, because toys and books and outgrown clothes seem to accumulate unusually fast at our house!

That's all I have, but would love to hear more tips from other thrifters...


Wednesday, February 10, 2010

make you own...


With three sons, I've been going through baby wipes like there's no tomorrow, and they're not cheap. Lately, several of my friends have been making their own (and raving about how great they are), so I thought I'd find a recipe and try them out soon. I need to run to the natural food store to get some of the ingredients (I think I might try some organic baby wash and essential oil in mine...either lavender or tea tree oil). And here's a link to a tutorial on how to make the lovely wipe case cover shown above...to put your homemade wipes in...


I also ran across this recipe for home-made deodorant on a great little blog I just discovered. I've (unsuccessfully) tried several all-natural deodorants before because I've heard the aluminum that is in EVERY anti-perspirant is not good for you. So I think I will whip this up and see if it works. It's made with coconut oil, so it has to smell pretty good...

Wednesday, February 3, 2010

make your own grocery totes...


I have decided to start posting links to blogs, etc. that I am enjoying every now and then to my page. I rarely actually get to do projects, or even update my blog, and it seems to me that one of the greatest things about blogging is sharing the wealth of amazingly creative ideas that are out there. So here is a link to a tutorial from this blog for these sweet recycled grocery totes. I would just love to make these...sometime...

Friday, November 20, 2009

felted sweater hat and mittens


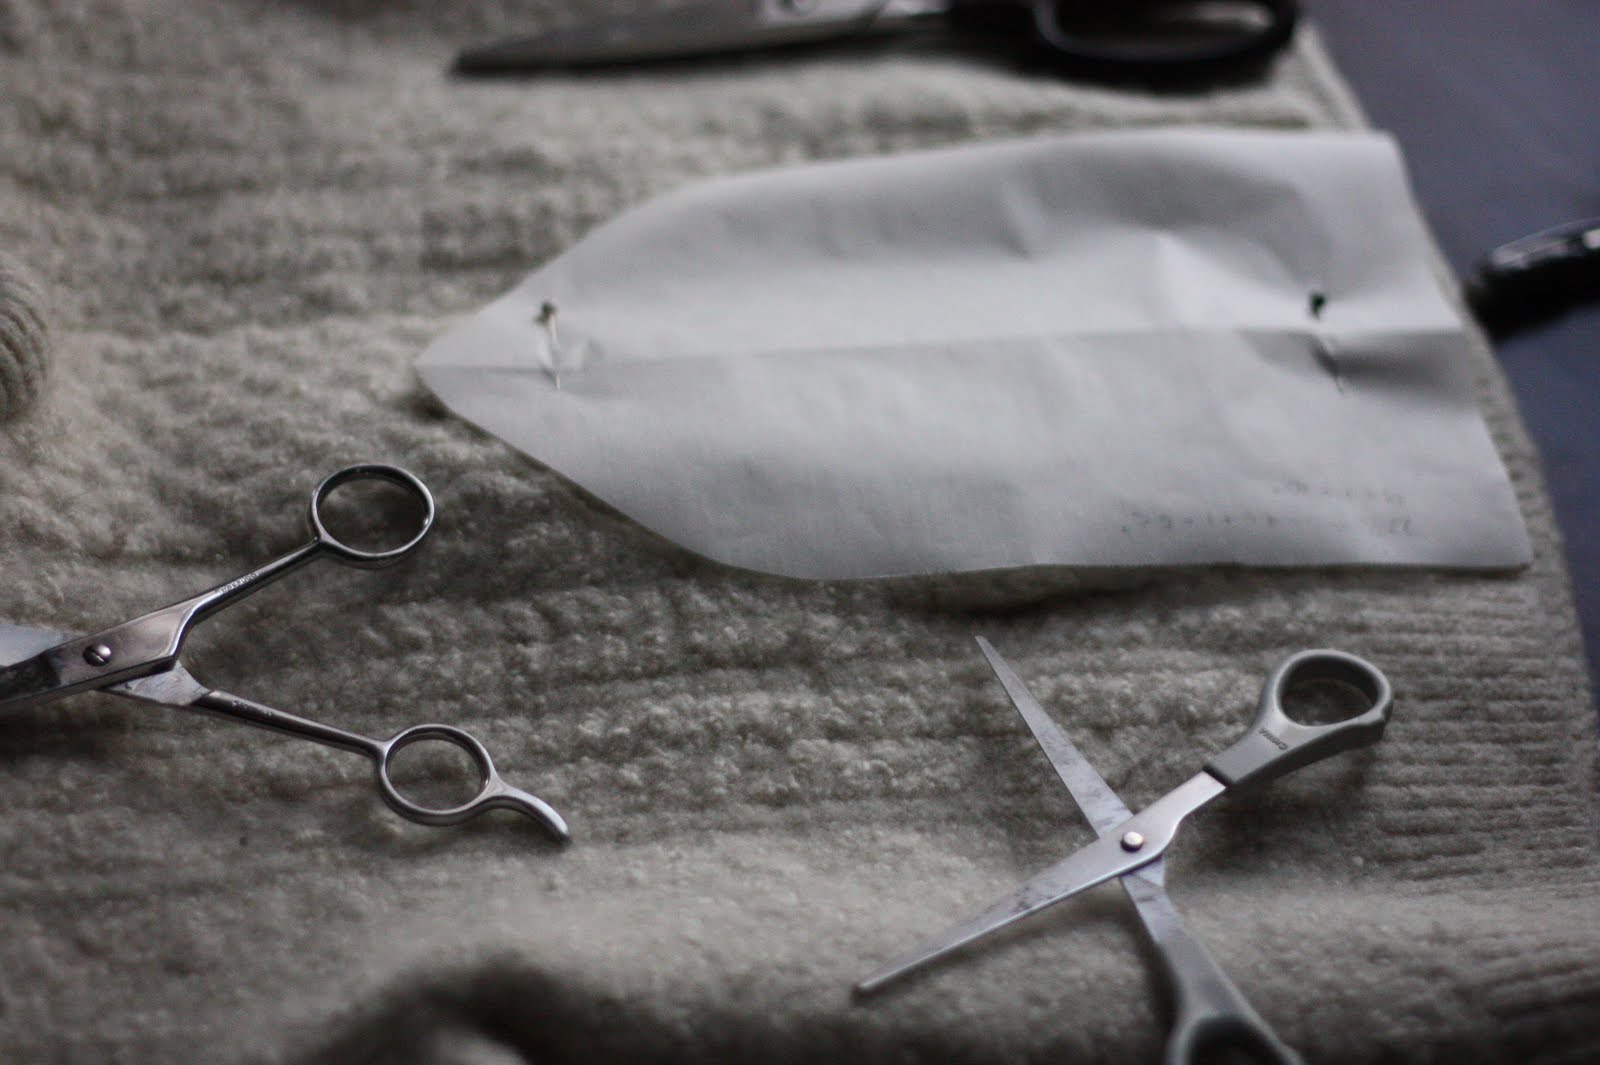
I've been fascinated lately with all the amazing things people make out of felted sweaters. I had no idea people actually shrunk wool sweaters on purpose to make things out of them. I've been itching to try some of the projects I've found online and scouring local thrift stores looking for felting candidates (the sweater needs to be 80% wool or higher in order to felt well). I found a few the other day, one of which was 100% new wool and hand knit in Ireland...just lovely. I felt a twinge of remorse as I threw it in the washer on hot and then in the dryer. Sure enough, it came out about one third of it's original size and REALLY thick (my thumb started going numb from trying to cut through it with my little scissors)


Next, I got to work finding patterns online. I decided on this one. I must offer this caveat, though: I never, ever follow patterns or recipes...even if I want to. I did all the measuring and made a template and cut all the pieces and sewed a few together, only to find that the hat was hanging down to my nose and would have been WAY to big for my head, if I had used all the pieces. So, I only used four of the five pieces I cut, and then turned the cuff of the hat under and hemmed it so it didn't cover my eyes.

For the mittens, I found a lot of patterns, but thought the simplest way to make them would be to use the cuff of the sleeves of the sweater for the cuff of my mittens. So I put my hands in the sleeves the wrong way and then traced the outline of the mitten where my fingers were. The sleeves had shrunk so much they almost weren't long enough for my hands. Then I turned them inside out and stitched a very small seam around the raw edges (which was not easy because the felt was THICK...my poor sewing machine had a rough time...but we made it through).

I really like the finished products, especially the mittens. The seams are a little annoying because they are so thick, but they are very WARM and look oh, so nice. Wish I had enough for a scarf...